Chapter 11. Console
- 11.1. Installation
-
- 11.1.1. Authorization
- 11.1.2. User and group management
- 11.1.3. Registering your own service handlers
- 11.2. Running the process management console
-
- 11.2.1. Managing process instances
- 11.2.2. Human task lists
- 11.2.3. Reporting
- 11.3. Adding new process / task forms
- 11.4. REST interface
The jBPM console consists of two wars that must be deployed in your application server and contains the necessary libraries, the actual application, etc. One jar contains the server application, the other one the client.
11.1. Installation
The console is a separate sub-project that is shared across different projects, like for example jBPM and RiftSaw. The source code of the version that jBPM5 is currently using can be found on SVN here. The latest version of the console has been moved to Git and can be found here.
11.1.1. Authorization
When using the jBPM installer, a predefined users.properties file (located in the auth folder) is copied to the jbossas/server/default/conf folder automatically. This file can be edited and contains a few predefined users: admin, krisv, john, mary, and sales-rep (as these are commonly used in examples). The password associated with these users is the same as their username.
11.1.2. User and group management
When using the jBPM installer, a predefined roles.properties file (located in the auth folder) is copied to the jbossas/server/default/conf folder automatically. This file can be edited and contains the groups the predefined users are part of (as these are commonly used in examples): all users are part of the admin, manager and user group but john is also part of the PM (project management) group, mary is part of HR (human resources) and sales-rep is part of sales.
11.1.3. Registering your own service handlers
You must register your handlers to be able to execute domain-specific services. You can register your handlers by dropping a configuration file in the classpath that specifies the implementation class for each of the handlers. You can specify which configuration files must be loaded in the drools.session.conf file, using the drools.workItemHandlers property (as a list of space-separated file names). These file names should contain a Map of entries, the name and the corresponding WorkItemHandler instance that should be used to execute the service. The configuration file is using the MVEL script language to specify a map of type Map<String,WorkItemHandler>.
You should also make sure that the implementation classes (and dependencies) are also available on the classpath of the server war, for example by dropping the necessary wars in the server/{profile}/lib directory of your JBossAS installation.
For example, suggest you want to use the "Email" service task (that is provided out-of-the-box as an example in the jbpm-workitems module). You should put the jbpm-workitems, javax.mail and javax.activation jars in the lib folder of the AS and the include the following two configuration files in the META-INF folder in the WEB-INF/classes folder of the server war. The drools.session.conf simply refers to the CustomWorkItemHandlers.conf file that contains the actual handlers:
drools.workItemHandlers = CustomWorkItemHandlers.confThis configuration file then specifies which handler to register for each of the domain-specific services that are being used, using MVEL to specify a Map<String,WorkItemHandler> (with host, port, username and password replaced by a meaningful value of course):
[

  "Email": new org.jbpm.process.workitem.email.EmailWorkItemHandler(

             "host", "port", "username", "password"),

]
The installer simplifies registering your own work item handlers significantly by offering these configuration files in the jbpm-installer/conf folder already and automatically copying them to the right location when installing the demo. Simply update these files with your own entries before running ant install.demo.
11.2. Running the process management console
A login screen should pop up, asking for your user name and password. By default, the following username/password configurations are supported: krisv/krisv, admin/admin, john/john and mary/mary.

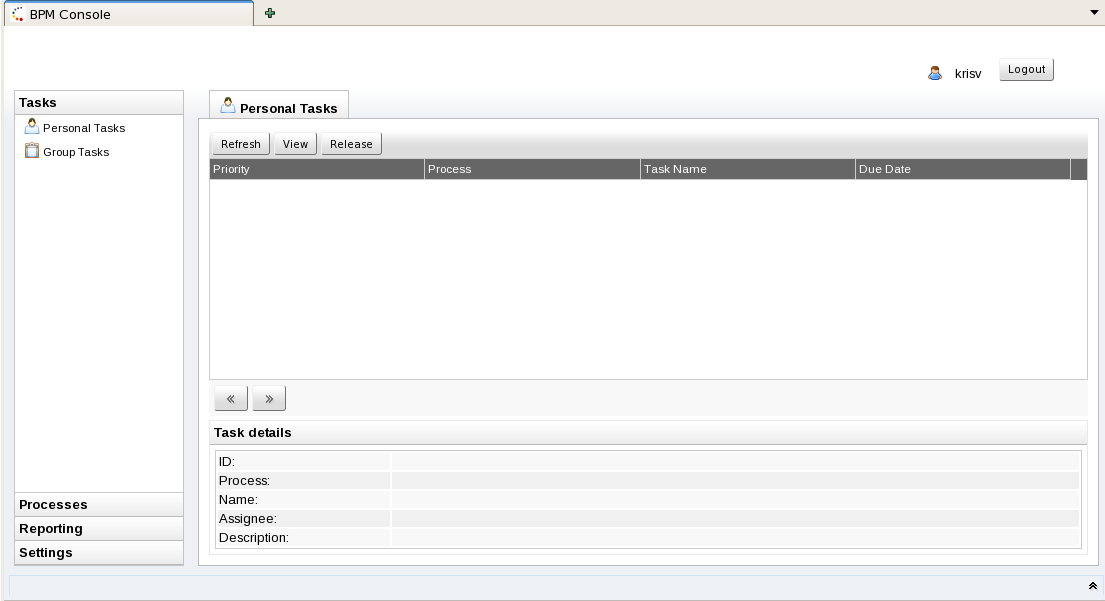
11.2.1. Managing process instances
11.2.1.1. Inspecting process definitions
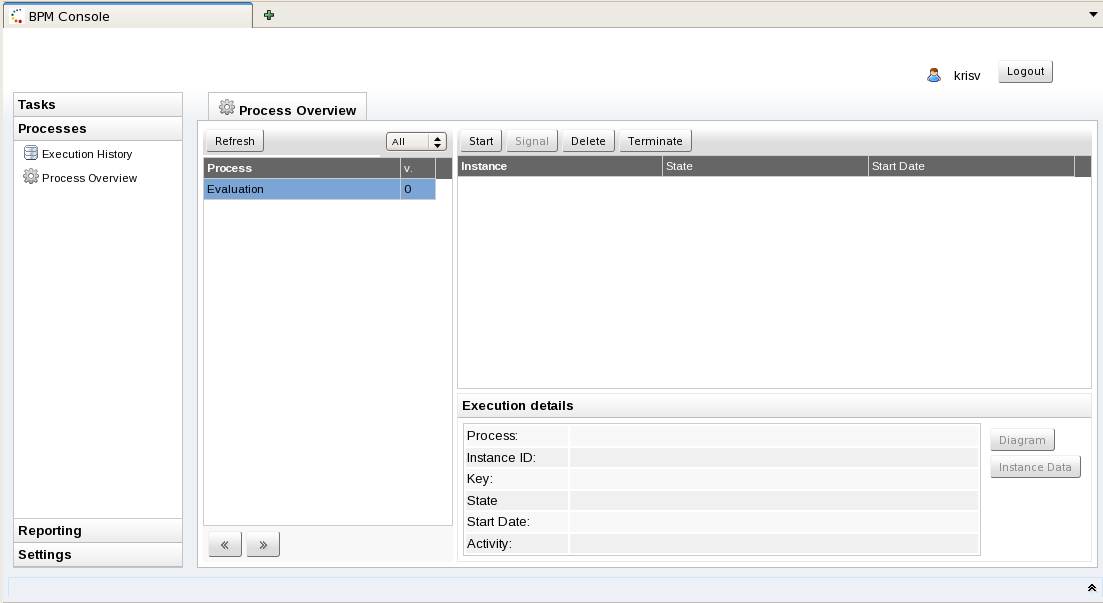
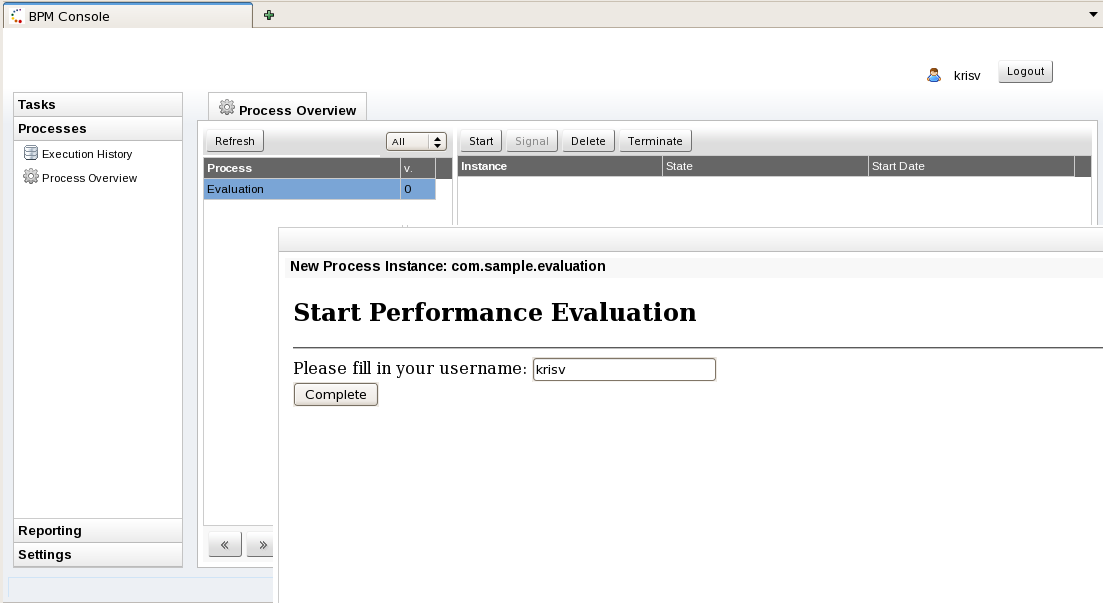
11.2.1.2. Starting new process instances
11.2.1.3. Managing process instances
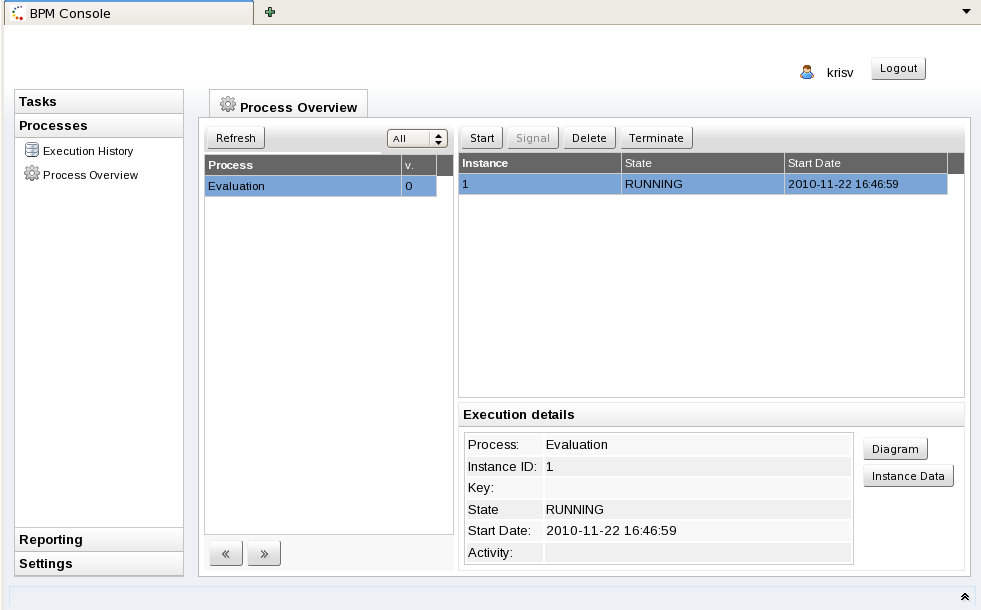
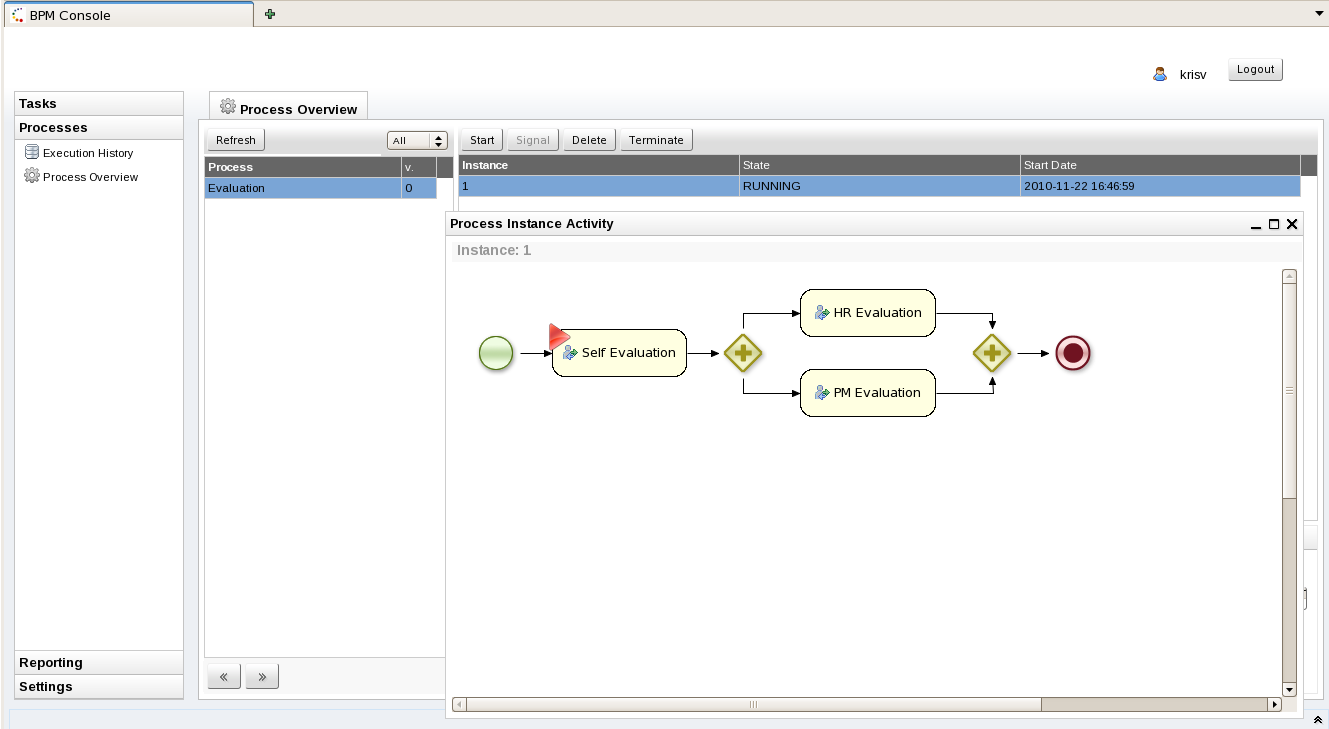
11.2.1.4. Inspecting process instance state
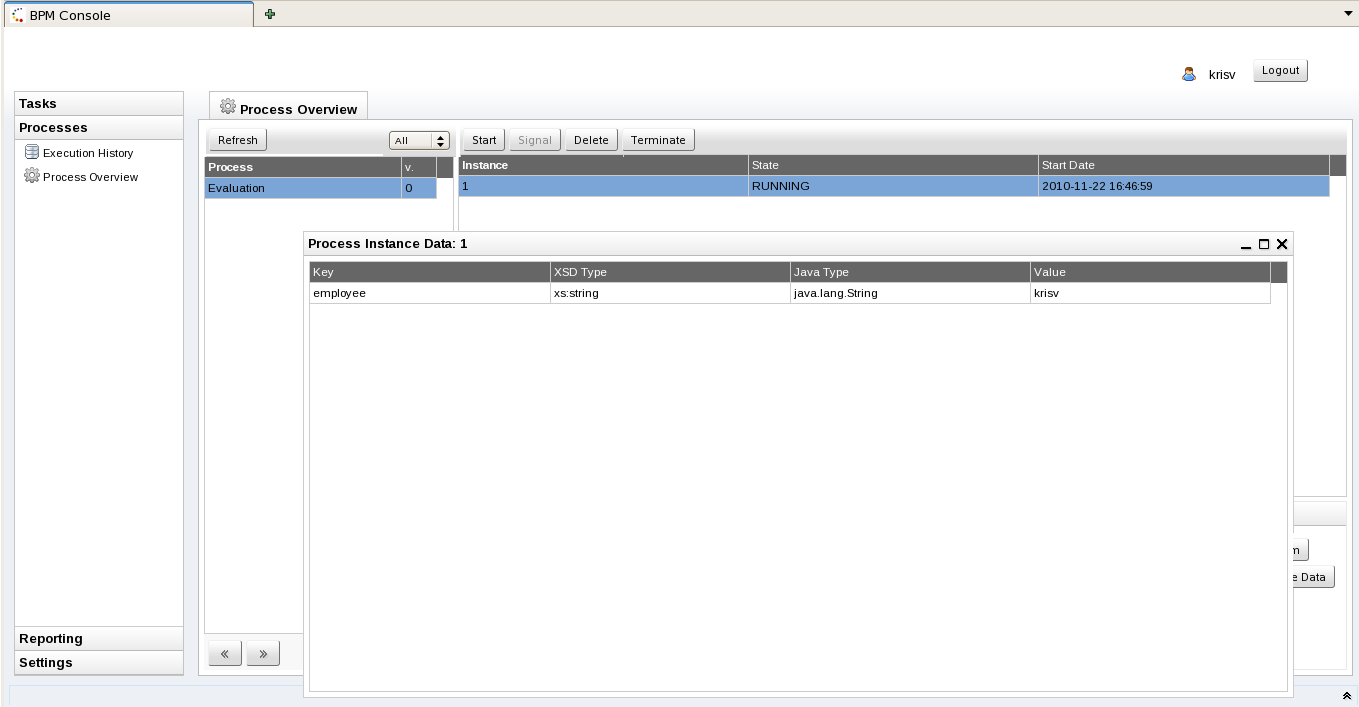
11.2.1.5. Inspecting process instance variables
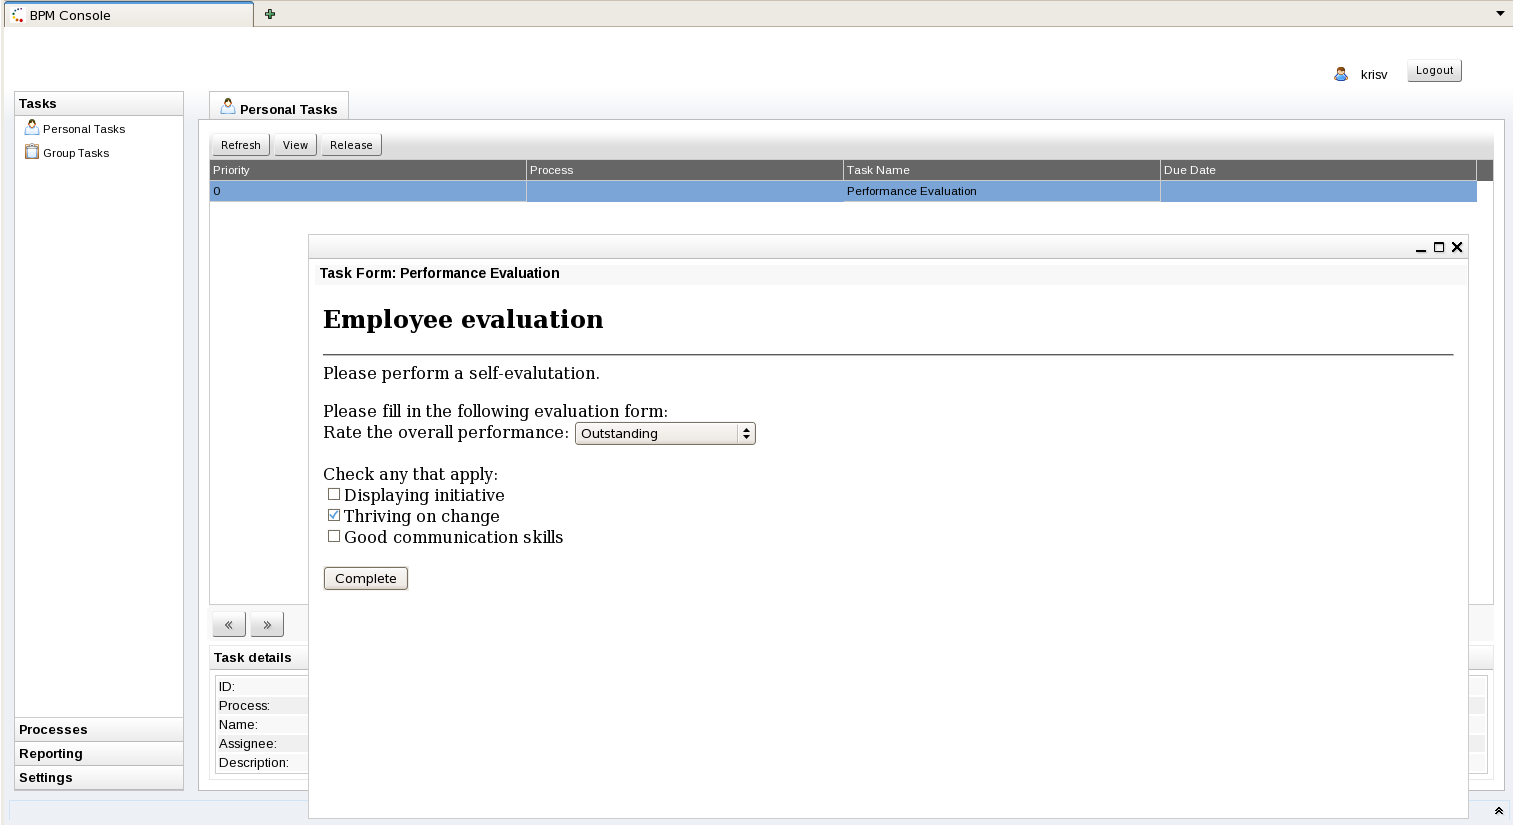
11.2.2. Human task lists
11.2.3. Reporting
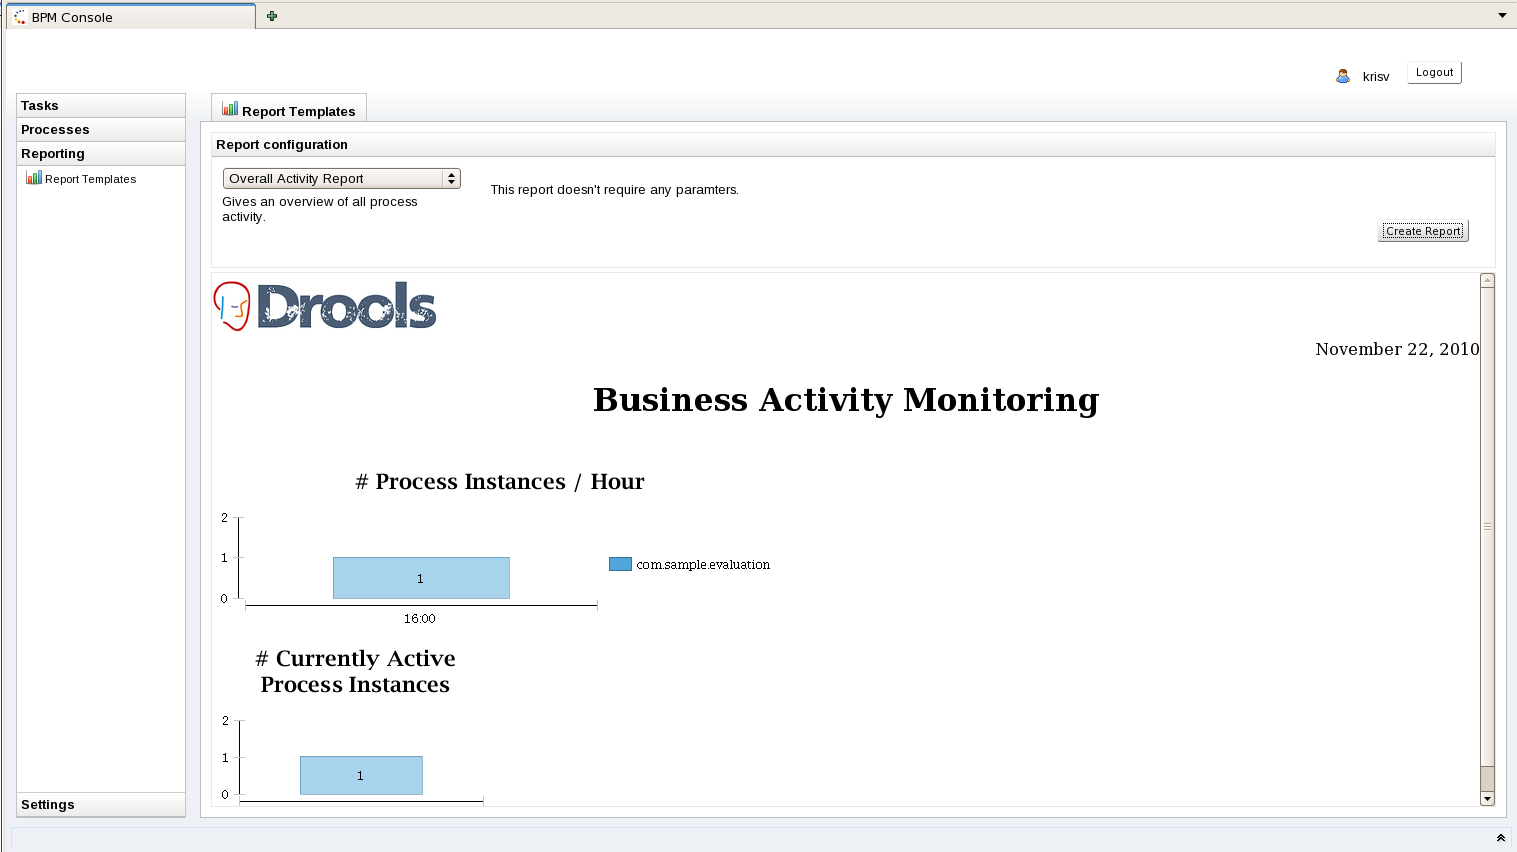
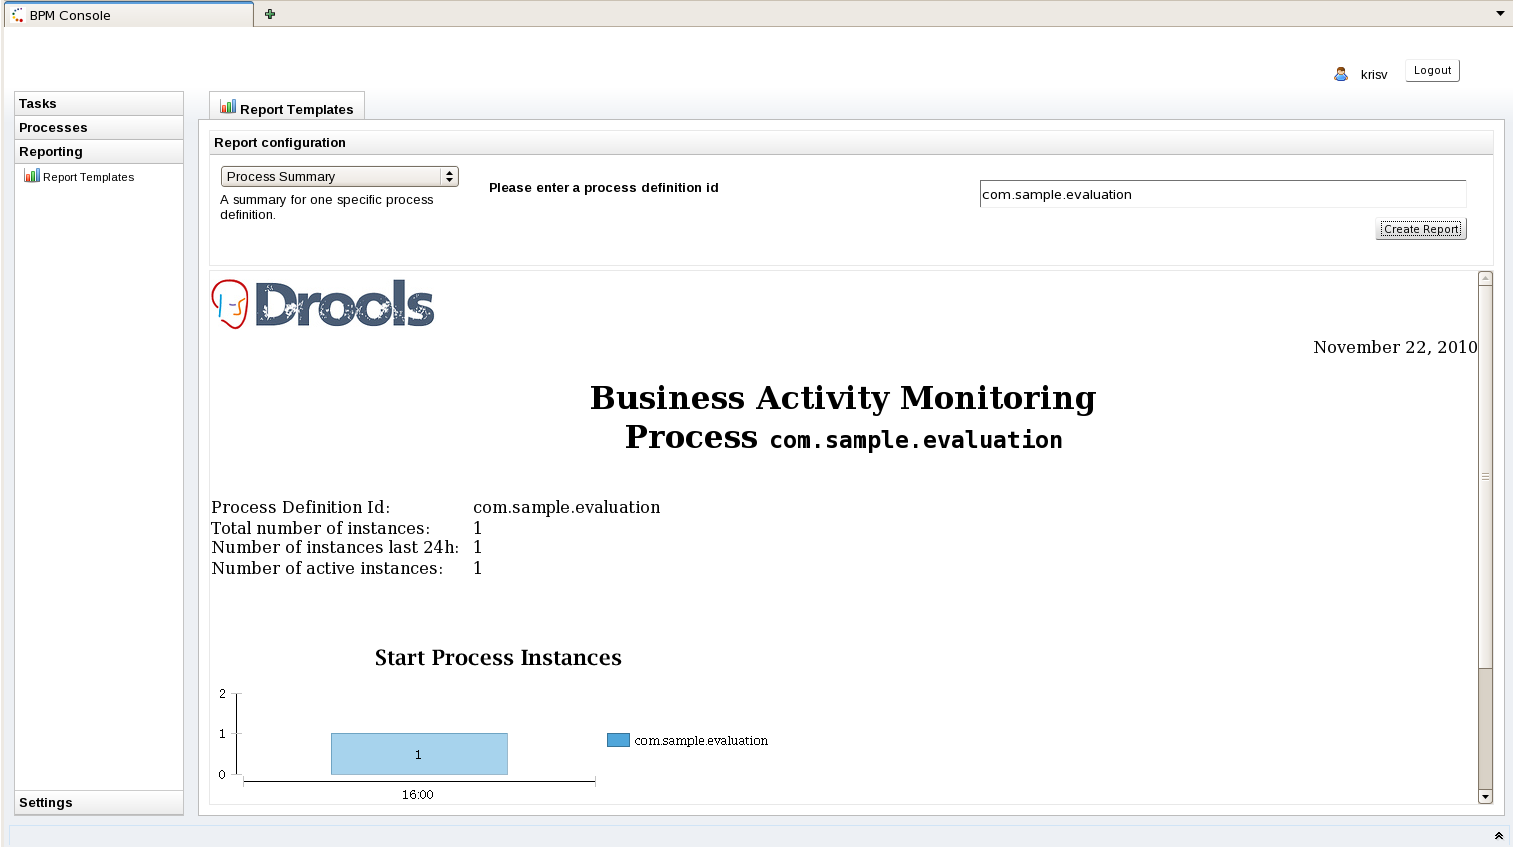
The jBPM installer by default does not install the reporting engine (to limit the size of the download). If you want to try out persistence, make sure to put the jBPM.birt.download property in the build.properties file to true before running the installer. If you get an exception that the report engine was not initialized correctly, please run the installer again after making sure that reporting is enabled.
11.3. Adding new process / task forms
<html>

<body>

<h2>Start Performance Evaluation</h2>

<hr>

<form action="complete" method="POST" enctype="multipart/form-data">

Please fill in your username: <input type="text" name="employee" /></BR>

<input type="submit" value="Complete">

</form>

</body>

</html>
Similarly, task forms for a specific type of human task (uniquely identified by its task name) can be linked to that human task by creating a freemarker template with the name {taskName}.ftl. The form has access to a "task" parameter that represents the current human task, so it allows you to dynamically adjust the task form based on the task input. The task parameter is a Task model object as defined in the jbpm-human-task module. This for example allows you to customize the task form based on the description or input data related to that task. For example, the evaluation form shown earlier uses the task parameter to access the description of the task and show that in the task form:
<html>

<body>

<h2>Employee evaluation</h2>

<hr>

${task.descriptions[0].text}<br/>

<br/>

Please fill in the following evaluation form:

<form action="complete" method="POST" enctype="multipart/form-data">

Rate the overall performance: <select name="performance">

<option value="outstanding">Outstanding</option>

<option value="exceeding">Exceeding expectations</option>

<option value="acceptable">Acceptable</option>

<option value="below">Below average</option>

</select><br/>

<br/>

Check any that apply:<br/>

<input type="checkbox" name="initiative" value="initiative">
Displaying initiative<br/>

<input type="checkbox" name="change" value="change">
Thriving on change<br/>

<input type="checkbox" name="communication" value="communication">
Good communication skills<br/>

<br/>

<input type="submit" value="Complete">

</form>

</body>

</html>
Task forms also have access to the additional task parameters that might be mapped in the user task node from process variable using parameter mapping. Check out the chapter on human tasks for more details. These task parameters are also directly accessible inside the task form. For example, imagine that you want to make a task form for review customer requests. The user task node copies the userId (of the customer that performed the request), the comment (the description of the request) and the date (the actual date and time of the request) from the process into the task as task parameters. In that case, these parameters will then be accessible directly in the task form, as shown below:
<html>
<body>
<h2>Request Review</h2>
<hr>
UserId: ${userId} <br/>
Description: ${description} <br/>
Date: ${date?date} ${date?time}
<form action="complete" method="POST" enctype="multipart/form-data">
Comment:<BR/>
<textarea cols="50" rows="5" name="comment"></textarea></BR>
<input type="submit" name="outcome" value="Accept">
<input type="submit" name="outcome" value="Reject">
</form>
</body>
</html>
Data that is provided by the user when filling in the task form will be
added as result parameters when completing the task. The name of the data element
will be used as the name of the result parameter. For example, when completing the
first task above, the Map of outcome parameters will include result variables called
"performance", "initiative", "change" and "communication". The result parameters
can be accessed in the related process by mapping these result parameters to process
variables using result mapping.Forms should either be available on the classpath (for example inside a jar in the jbossas/server/default/lib folder or added to the set of sample forms in the jbpm-gwt-form.jar in the jbpm console server war), or you could use the Guvnor process repository to store your forms as well. Check out the chapter on the process repository to get more information on how to do that.
11.4. REST interface
The list URLS that the REST interface exposes can be inspected if you navigate to the following URL (after installing and starting the console):
http://localhost:8080/gwt-console-server/rs/server/resources
For example, this allows you to close a task using
/gwt-console-server/rs/task/{taskId}/close
or starting a new process instances using
/gwt-console-server/rs/process/definition/{id}/new_instance
For more information follow my Tutorial online @ http://jbpmmaster.blogspot.com/
No comments:
Post a Comment